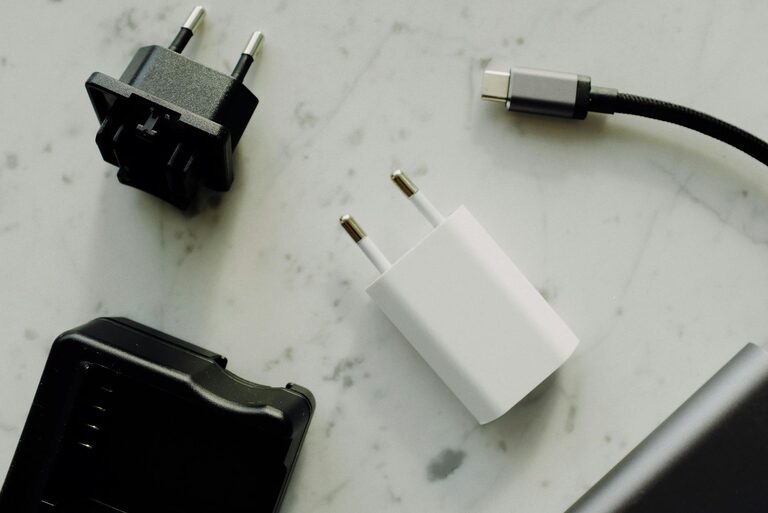
How to Set Up a Charging Station for Your Devices at Home

Setting up a dedicated charging station for your devices is a smart and practical way to keep your gadgets powered and your space tidy. With the increasing number of smartphones, tablets, laptops, and other rechargeable devices, having a central place to charge them saves time, reduces clutter, and enhances convenience. In this post, we’ll guide you through the steps to create an efficient and organized charging station at home or work.
Why Create a Charging Station?
Before diving into the setup, it’s worth considering the benefits of having a charging station:
– Organization: Reduces tangled cables and lost chargers.
– Accessibility: Keeps devices in one easy-to-find location.
– Efficiency: Lets you charge several devices at once.
– Safety: Helps avoid overloaded outlets and messy wires.
Choosing the Right Location
The first step is picking a suitable spot for your charging station. Consider the following:
– Accessibility: Choose a spot that you use regularly, like a desk, kitchen counter, or living room table.
– Power source availability: Ensure there’s at least one power outlet nearby.
– Space: Make sure there’s enough room for your devices and chargers without crowding.
– Ventilation: Avoid enclosed or cramped spaces as devices may heat up when charging.
What You’ll Need
To set up your charging station, gather these essentials:
– Power strip or charging hub: A power strip with multiple outlets or a USB charging hub allows you to plug in several devices simultaneously.
– Charging cables: Use cables compatible with your devices.
– Cable organizers: Clips, ties, or sleeves help keep cords untangled.
– Container or tray: A small box, basket, or tray helps keep devices in place.
– Labeling supplies (optional): Tags or markers can help identify cables.
Step-by-Step Setup Guide
Step 1: Clear and Clean the Area
Start with a clean surface. Remove any unnecessary items to make space for your charging station. Wiping down the area will help create an inviting spot for your devices.
Step 2: Position the Power Source
Place your power strip or USB charger near the center of your chosen area. If possible, select a power strip with built-in surge protection to protect devices from electrical spikes.
Step 3: Arrange Cables Strategically
Sort the charging cables according to device type and length. Use cable clips or ties to bundle excess lengths and prevent tangles. If you want an even cleaner look, use cable sleeves or tubes to group several cables together.
Step 4: Create Device Slots or Dividers
Place your devices in a container, tray, or several small compartments to keep them upright and prevent scratching. Some people use repurposed drawer organizers or even DIY stands made from cardboard or wood. The goal is to keep devices visible and accessible while charging.
Step 5: Label Cables and Chargers (Optional)
If multiple users or devices share the station, labeling the cables or the slots where devices sit can prevent confusion. Use small adhesive tags or color coding to make identification easy.
Step 6: Test Your Charging Station
Plug in your devices one at a time to ensure all cables and power sources work properly. Adjust the setup if needed, perhaps adding extra cable organizers or repositioning devices to optimize space.
Tips to Maintain Your Charging Station
– Keep cables clean: Dust and clean cables periodically to keep them in good condition.
– Avoid overloading: Don’t connect too many devices to a single outlet to prevent overheating.
– Charge regularly: Encourage everyone in your household or office to place devices on the station daily to avoid clutter elsewhere.
– Upgrade as needed: Replace old cables and chargers to maintain charging speed and safety.
Popular Charging Station Ideas
Here are a few creative ideas for charging stations:
– Wall-mounted station: Install hooks or small shelves on a wall near a power outlet.
– Under-desk station: Mount a power strip under your desk to keep cables out of sight.
– Drawer station: Convert a drawer with ventilation holes into a discreet charging area.
– Decorative tray: Use a stylish tray or basket to complement your room’s decor while organizing devices.
Conclusion
A well-planned charging station can simplify your daily routine and reduce clutter around your home or office. By choosing the right location, organizing cables, and grouping devices in one spot, you create a neat and efficient space to keep your gadgets powered up. Start with the basics, and feel free to customize your station according to your needs and style.
Creating a charging station is a small project with big benefits. Try setting one up today, and enjoy hassle-free charging for all your devices!
